

How to propagate pothos is one of the simplest skills you can pick up as a plant person — and honestly, it’s one of the most satisfying. Here’s a confession: my first pothos cutting sat in a jam jar on my kitchen windowsill for three weeks doing absolutely nothing, and I was this close to giving up on it. Then, overnight, it seemed like little white nubs just appeared out of nowhere. That’s pothos for you — it makes you wait just long enough to worry, then rewards you all at once.
If you’ve got a pothos vine that’s gotten leggy, or you’re just hooked on the “one plant becomes ten plants for free” magic trick, you’re in the right place. Propagating pothos is genuinely one of the easiest things you can do as a plant person, and once you get the hang of it, you’ll be making cuttings for every windowsill, coworker, and unsuspecting neighbor you know.
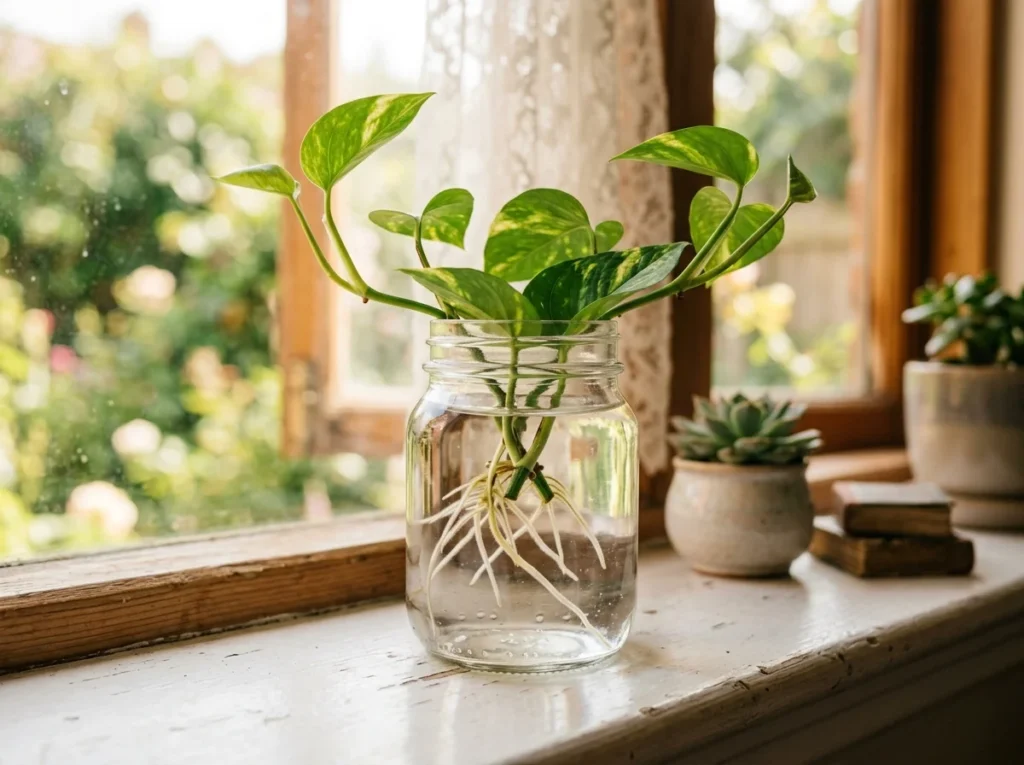
Let’s get into it.
Table of Contents
Why Pothos Is the Easiest Plant for Beginners Learning How to Propagate Pothos
Pothos (Epipremnum aureum) is basically built for cloning itself. In the wild, it climbs by sending out aerial roots at every node — those little brown bumps along the stem — so it can grip onto trees and surfaces as it grows. That same node is where new roots form the moment you give it water, soil, or moist moss. You’re not fighting the plant’s biology here; you’re just giving it a nudge in a direction it already wants to go.
What You’ll Need
Before you start snipping, gather your tools. You don’t need much:
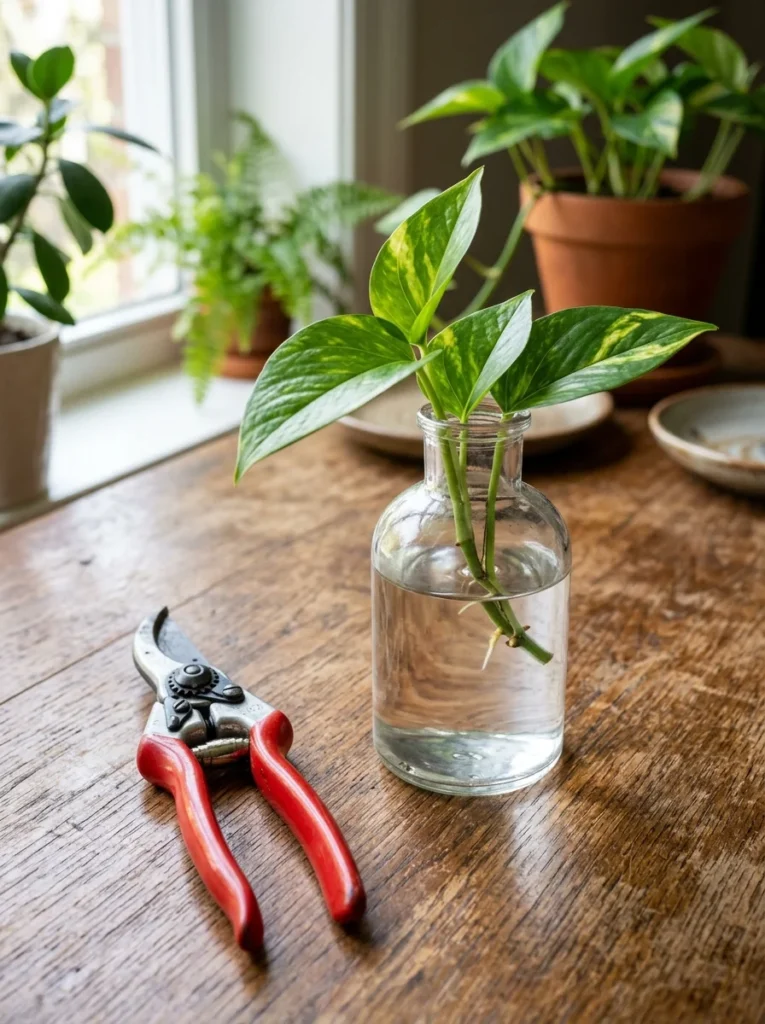
- Clean, sharp pruning shears or floral snips
- A glass jar or propagation vase (for water propagation)
- Indoor potting mix and small nursery pots (for soil propagation)
- Optional: rooting hormone, sphagnum moss, or perlite
If you’re the type who loves a good display setup, a multi-vial propagation station turns this whole process into a genuine windowsill centerpiece.
How to Propagate Pothos, Step by Step
Step 1: Find and Cut a Node
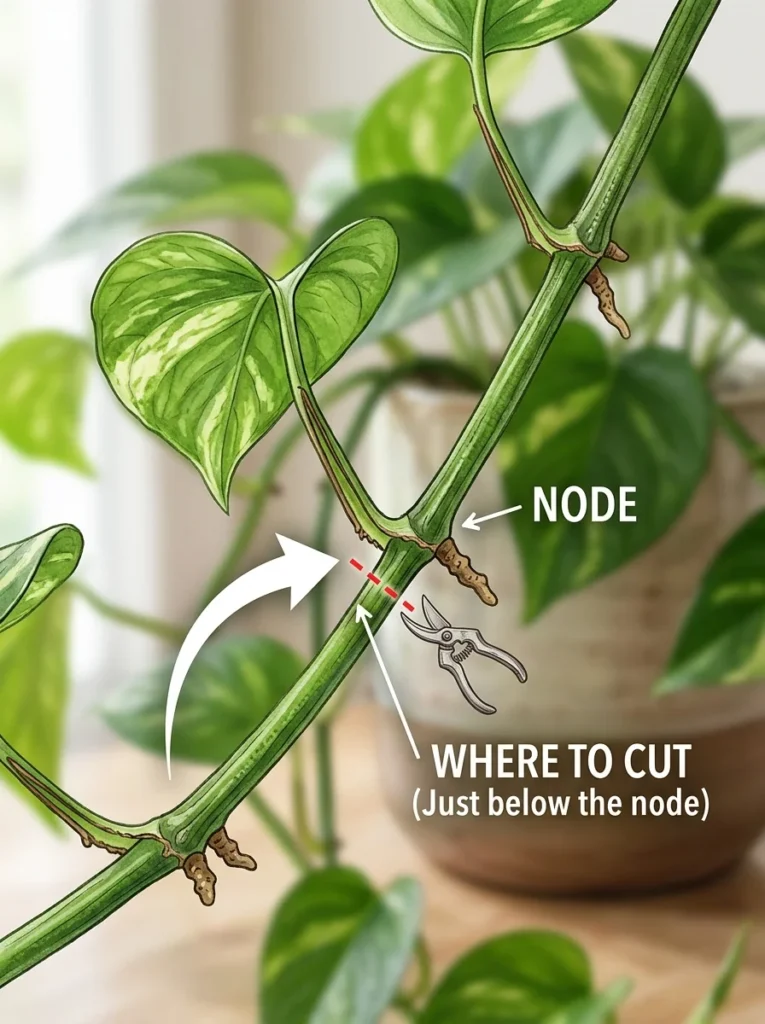
This is the one step you cannot skip. A node is the small bump on the stem where a leaf attaches — and it’s also where roots will form. Cut a leaf without a node attached, and it might sit there looking pretty in water for weeks, but it will never grow into a new plant.
How to do it:
- Pick a healthy vine with several leaves.
- Locate a node — look for the little brown or tan bump, sometimes with a tiny aerial root already poking out.
- Using clean shears, cut about a quarter-inch below the node.
- Aim for cuttings with 2–4 nodes and 2–3 leaves each.
A quick clarifying note on tool hygiene: sterilized, sharp tools matter more than people think — a crushed or dirty cut is far more likely to rot before it roots than a clean one.
If your vine is long, don’t make one giant dramatic cutting. Chop it into several smaller node cuttings instead — you’ll get more plants out of it anyway.
Step 2: Choose Your Propagation Method — Water, Soil, or Moss
This is where people get stuck. Here’s the honest breakdown.
| Method | Pros | Cons | Best For |
|---|---|---|---|
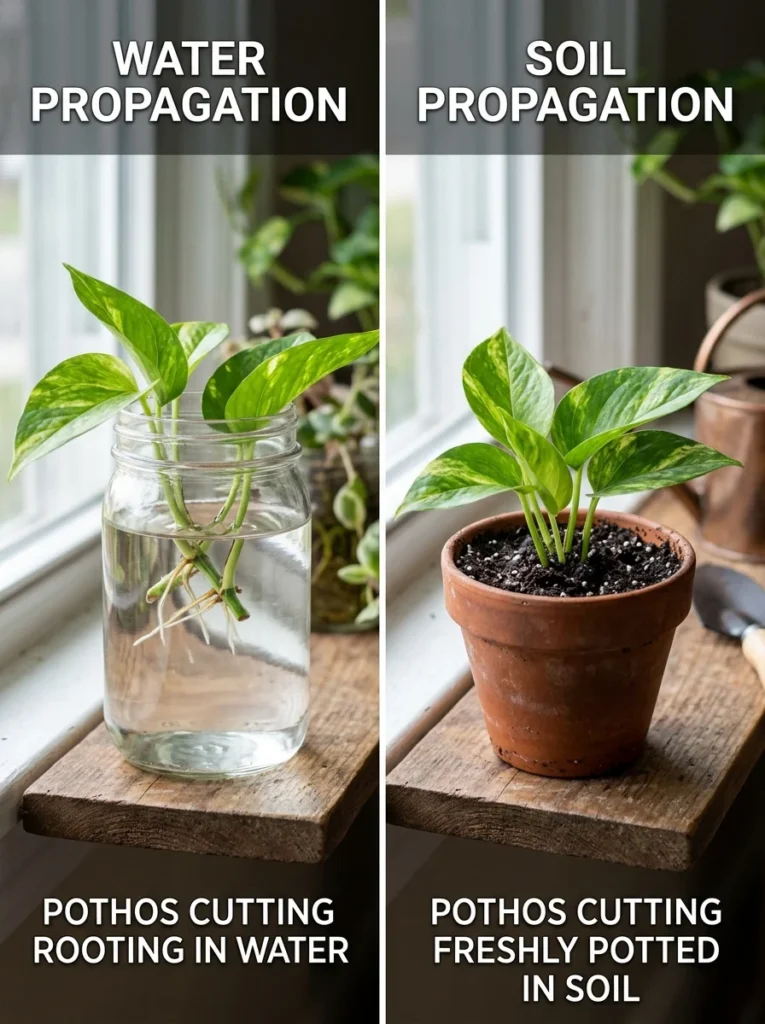
| Water | Easy to watch roots form; low fuss | Roots are delicate; needs a transplant step later | Beginners, visual learners |
| Soil | Roots adapt to final medium right away; less transplant shock | You can’t see what’s happening | People who want a “set it and forget it” approach |
| Sphagnum moss | Great moisture retention, fewer rot issues than soggy soil | Needs occasional monitoring for dryness | Humidity-loving setups, terrariums |
There’s no single “best” answer here — it really comes down to patience and how much you enjoy staring at roots through glass (no judgment, we’ve all done it).
Step 3: Propagate in Water
- Fill a clean jar or glass propagation vase with room-temperature water.
- Submerge the node(s) fully — leaves should stay above water.
- Place the jar in bright, indirect light. Direct sun will cook the cutting; a dark corner will stall it.
- Change the water once or twice a week. Stagnant water runs out of oxygen fast, and that’s usually the real reason cuttings go slimy.
- Watch for tiny white bumps at the node (root initials) within about 1–2 weeks, followed by visible roots.
Curious about the actual timeline? Most pothos cuttings show early root nubs within the first week, thin roots by week two, and roots long enough to pot up (roughly 1–2 inches) by week three or four. Warmer rooms speed this up considerably; a chilly windowsill in winter can double that timeline.
Can pothos grow in water forever? Technically, yes — pothos will happily live out its days in a vase with the occasional splash of diluted liquid fertilizer. But water roots are structurally different from soil roots (thinner, adapted to dissolved oxygen), so if you do eventually move it to soil, expect a short adjustment period.
Step 4: Propagate in Soil
If you’d rather skip the water step entirely, you can root pothos directly in soil:
- Fill a small nursery pot with well-draining indoor potting mix, lightly moistened.
- Strip leaves from the lower nodes so they can be buried without rotting.
- Use a chopstick to make a planting hole, then insert the cutting so at least one to two nodes are covered.
- Optional: dip the cut end in rooting hormone first — it’s not required for pothos, but it can speed things along.
- Cover with a humidity dome or loosely tented plastic bag to lock in moisture while roots establish.
- Keep the soil consistently moist (not soaked) and check for gentle resistance after 3–4 weeks — that slight tug-back means roots have taken hold.
A moisture meter takes the guesswork out of this step if you tend to either drown or forget your plants (again, no judgment).
Step 5: Try Sphagnum Moss (For the Overachievers)
Sphagnum moss splits the difference between water and soil — it holds moisture beautifully without the sogginess that causes rot. Soak the moss, squeeze out excess water, wrap it snugly around the node, and tuck the whole thing into a small pot or bag to keep humidity up. Check it every few days so it never fully dries out.
Moving Cuttings From Water to Soil
Wait until roots are 1–2 inches long before transplanting — moving too early, while roots are still short and fragile, is one of the most common ways beginners lose a cutting to transplant shock. Pot it up in slightly moist soil, keep it out of harsh direct light for the first week, and resist the urge to over-water while it adjusts.
Why Are My Pothos Cuttings Rotting?
Almost every rotting cutting traces back to one of these:
- No node was included in the cutting
- Leaves submerged in water (they’ll rot and foul the whole jar)
- Stale, oxygen-depleted water that’s gone weeks without a change
- Cold, low-light conditions that stall rooting and invite fungus
If your cutting smells sour or the stem has gone mushy and brown, it’s usually too far gone — snip above the damage and start fresh with a clean cut.
How to Make Your Pothos Propagation Fuller
Want that lush, jungly look instead of one lonely vine? Group several cuttings in the same pot or propagation station. Pothos releases natural rooting compounds into water, and clustering cuttings together tends to encourage stronger, faster root development across the whole group. It also just looks better — a pot with five trailing vines beats one skinny stem every time.
Frequently Asked Questions
How do I propagate pothos from cuttings? Cut a healthy stem just below a node, place it in water or moist soil, keep it in bright indirect light, and wait for roots to form before potting up.
Where do I cut pothos for propagation? Cut about a quarter-inch below a node — the small bump where a leaf attaches to the stem.
Should I propagate pothos in water or soil? Water is easier for beginners because you can watch root progress; soil skips the transplant step entirely. Both work well.
How long does pothos take to root? Expect visible roots within 1–2 weeks, with roots long enough to pot up in about 3–4 weeks under warm, bright conditions.
Can I propagate pothos from one leaf? No — a leaf without a node attached won’t grow into a new plant. You need at least one node.
Do pothos cuttings need a node? Yes, always. The node is where new roots and growth actually originate.
How many nodes should a pothos cutting have? Two to four nodes per cutting gives you the best odds of success.
When should I move pothos cuttings from water to soil? Once roots are roughly 1–2 inches long and have started branching.
Can pothos grow in water forever? Yes, pothos can live long-term in water with occasional diluted fertilizer.
Why are my pothos cuttings rotting? Usually a missing node, submerged leaves, stale water, or cold/low-light conditions.
Do I need rooting hormone for pothos propagation? No, it’s optional — pothos roots easily without it, though it can speed up soil propagation.
What light is best for pothos cuttings? Bright, indirect light. Avoid direct sun, which can stress or scorch the cutting.
Can I propagate pothos in sphagnum moss? Yes — moistened sphagnum moss wrapped around a node works well and helps prevent rot.
How often should I change the water? Once or twice a week to keep oxygen levels up and prevent bacterial buildup.
How do I make pothos propagation fuller? Root several cuttings together in one pot or propagation station for a lush, layered look.
Final Thoughts
Propagating pothos really is one of those rare wins in plant care where the easy way is also the fun way. Once you’ve got one jar of cuttings going, you’ll probably want to try climbing setups next — if you’re into that, check out our guide on 10 Pothos Climbing Ideas That Turn a Trailing Vine Into an Indoor Showstopper, or if you’ve got an outdoor living space, Can I Plant My Pothos on My Lanai? is worth a read. And if this whole propagation thing turns into a full-blown obsession (it happens), our Vertical Gardening for Beginners guide will help you put all those new plants to good use.
Got a jar of cuttings going right now? Snap a photo and tag us — we love seeing windowsills turn into pothos jungles.











1 thought on “How to Propagate Pothos: The Only Guide You’ll Actually Need”